DIY Air Dry Clay Flower Frogs
- katbezner
- Jul 8
- 2 min read
Hello, Dear Friends,
I hope you had a wonderful 4th of July! Happy Birthday America - Land that I Love!
July is a great time to beat the heat and enjoy a simple craft indoors. Nothing makes me smile more than fresh-cut flowers grown with love from my garden = perfection. I have been on the lookout for vintage flower frogs, and then I got to thinking… Hmm, what if I make my own?
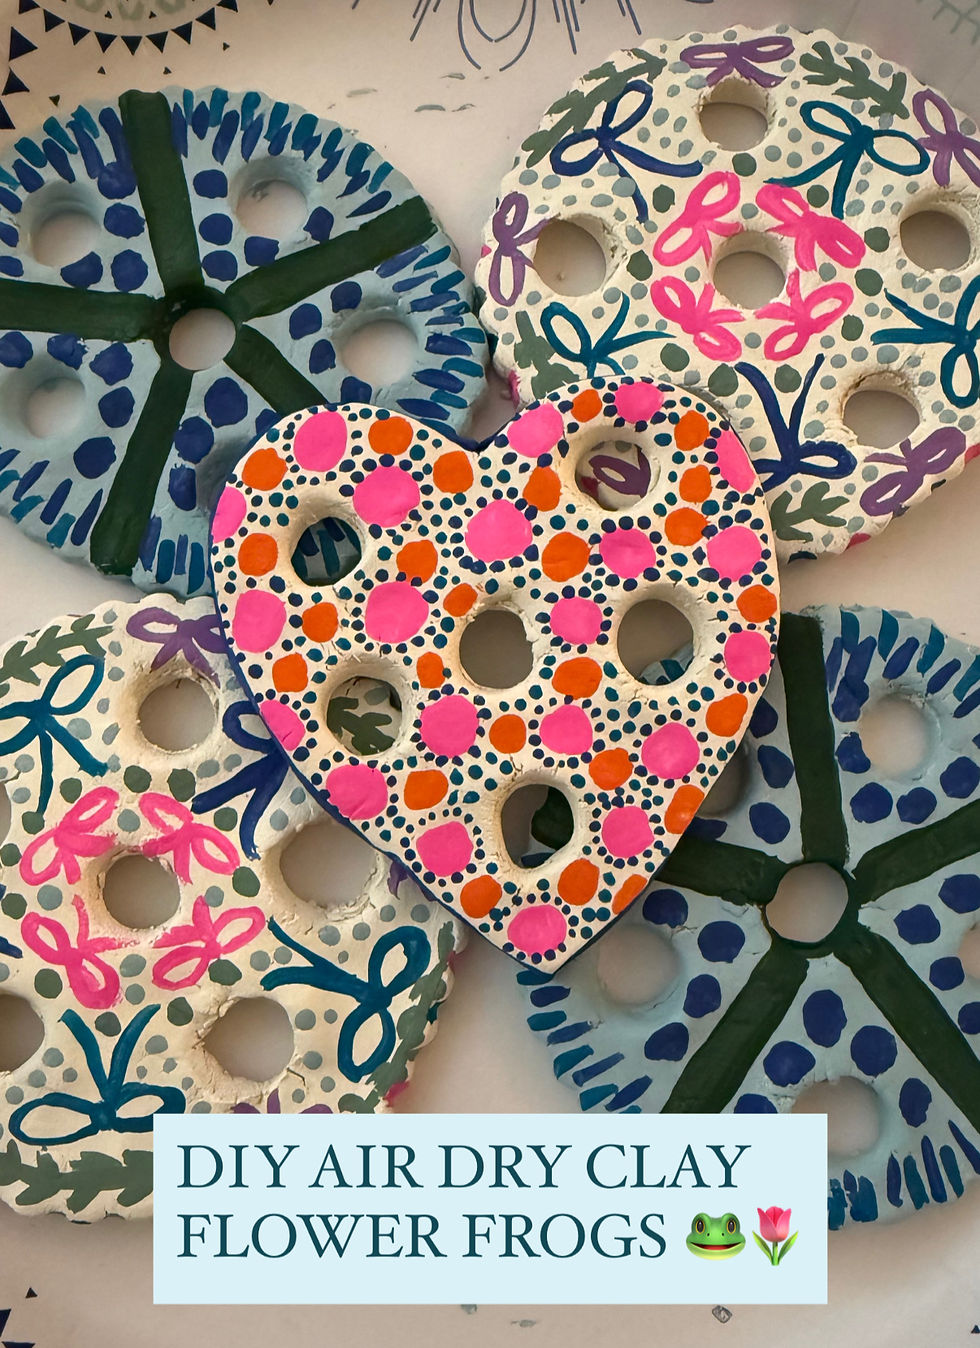
Drum roll, please… I give you Lady K’s take on DIY flower frogs.
DIY Air-Dry Clay Flower Frogs
Materials Needed:
Air dry clay
Rolling pin (or a smooth glass bottle)
Cookie cutters (I used a rounded biscuit cutter & a star-shaped cookie cutter)
Acrylic paint or paint pens
Mod Podge or matte waterproof sealant
Step-by-Step Instructions:
Prepare Your Work Surface
Lay down parchment paper or wax paper.
Roll Out the Clay
Roll to about 1/8 to 1/4 inch thickness.
Keep it even — not too thin, or it may crack while drying
Cut Your Shape
Use your cookie cutter to cut out the shapes.
Smooth any rough edges with damp fingers.
Cut the flower frog holes.
Use the wooden end of a spatula to cut out the circular holes in the middle of your flower frog.
About 1/4th an inch works great for the holes.
Drying Time
Let it dry slowly for 24-48 hours.
Rotate it gently every 12 hours to prevent warping.
Paint & Decorate
Use acrylic paint for color.
Metallic paint pens (gold, rose gold, copper) are gorgeous for rims or highlighting imprints.
Seal Your Dish
Apply a coat or two of Mod Podge or clay sealant to protect the surface.
Cure Time
Allow sealed pieces to cure fully for 24-48 hours before use.
Here’s an overview of the finished product. I love the creativity of this craft, and you can add your own flair to it. It’s very simple (a fun activity that even kiddos could do) and affordable (we are talking $5 air-dry clay from Walmart)! Upcycling old jars is easy! You can also thrift old ceramics or glass at an antique store.


Lady K’s One Thing:
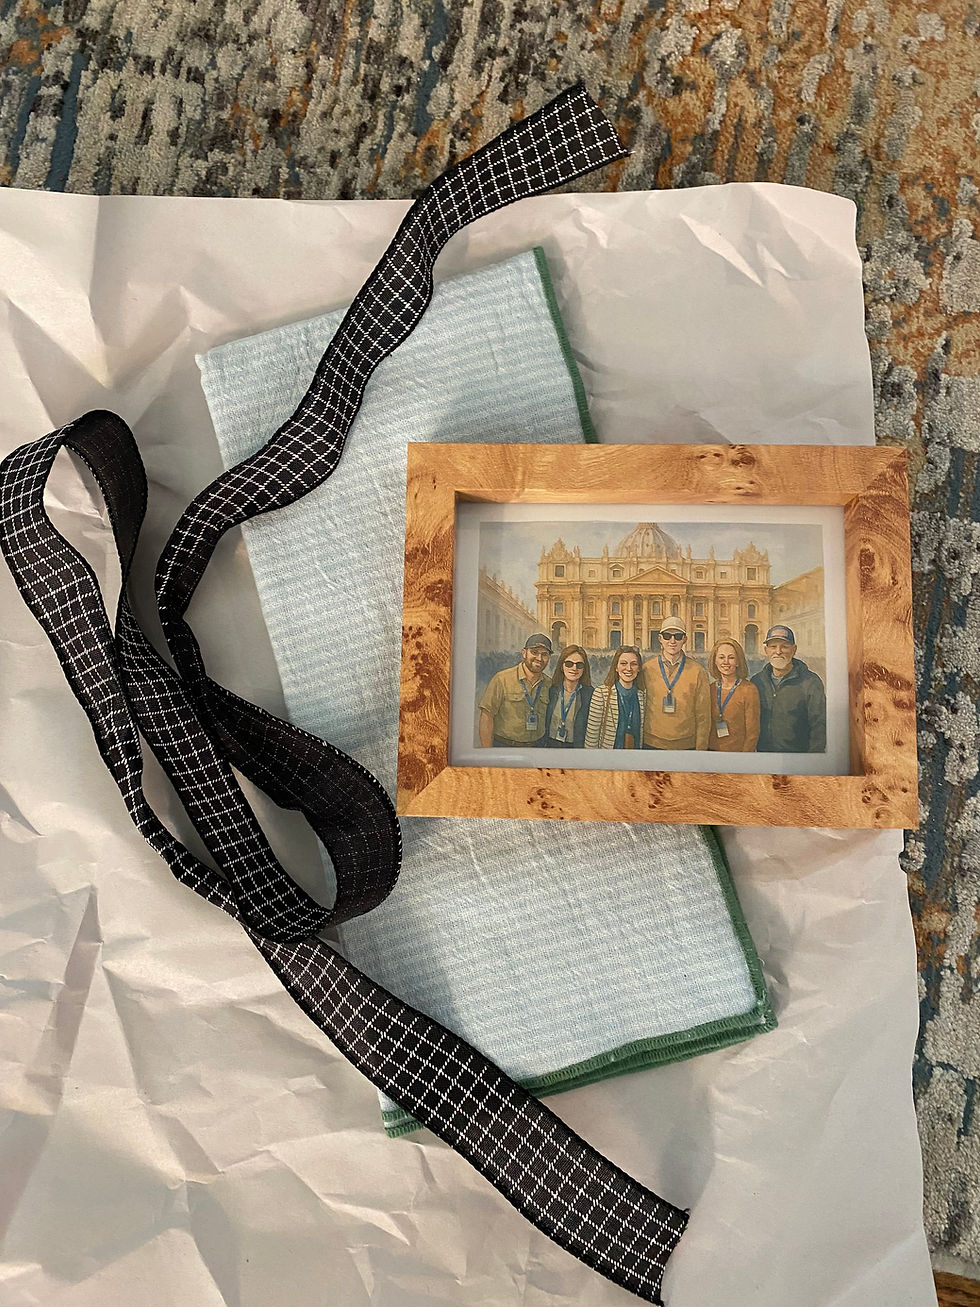
I love how Kim Watson uses vintage plates and saucers as a decorative element underneath her indoor plants! Shoutout @mrsaaronwatson on Instagram. I am always worried about displaying plants inside because many ceramic pots have holes in them. This is an easy solution to that! Here’s an inspo pic of how to use them - so versatile and unique!

May your week FLOURISH,


Comments